The Keys to a Successful Digital Signage Installation
Digital signage installations can be difficult and time consuming and without proper preparation there are many things that could go wrong. At Empire Digital Signs, we do the integrating to the installation, here are a few tips to ensure that your installation goes off without a hitch:
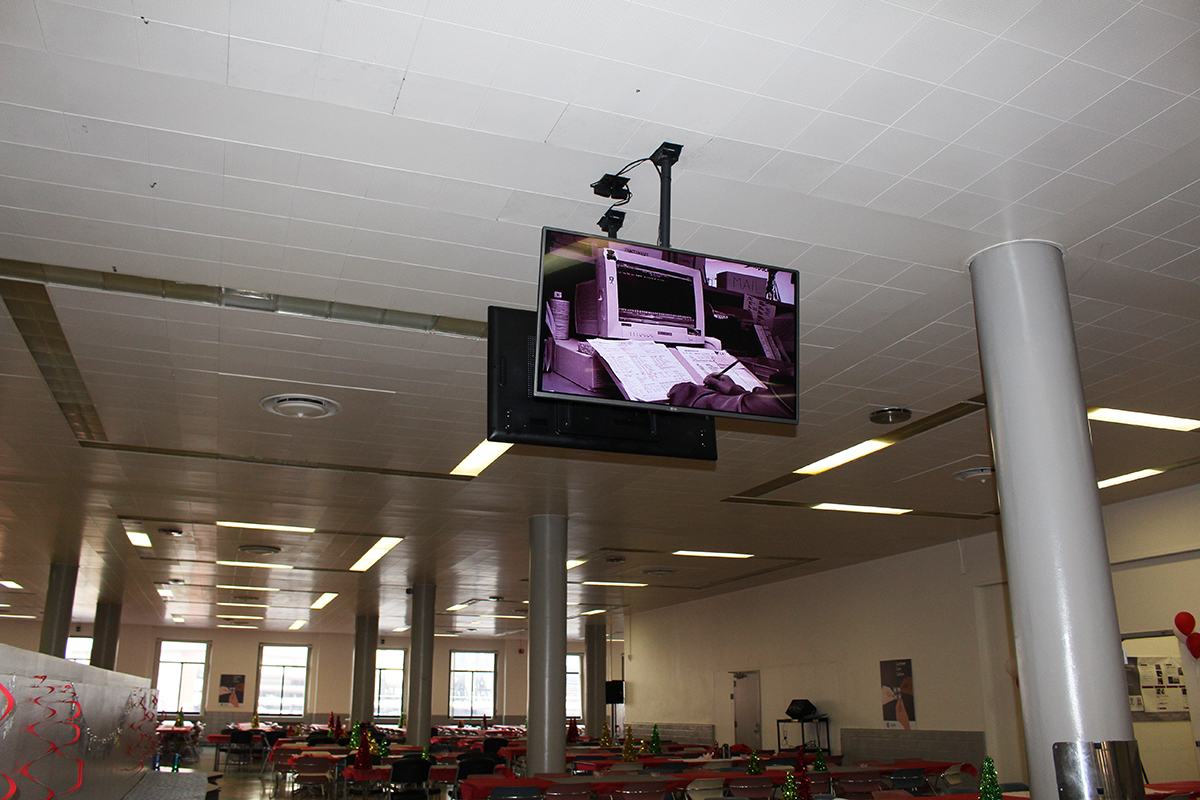
Test and Stage All Equipment Prior to Installation
One of the most common mistakes is not testing equipment before the real install. We expect everything to work out of the box, but that is not always the case. A digital signage installation can be stressful enough, but having to do integration and testing on site would be another animal. Digital signage is all about the content that is on the screen and how the user interacts with it. Making sure the content displays properly is key and if it is an interactive kiosk you want to make sure that all links work and navigate to the correct locations. In addition, digital signage is technology and we all know that technology can fail, so by staging it ensures that the display and media player are not going to fail within a few days of the install. And if something were to be faulty it would be caught and attended to early rather than discovering the component issues at an install site. Lastly, if you are framing the digital sign make sure the frame fits the display. Many times manufacturers release different models with different dimensions, the frame must be measured to fit the specific display you are using.
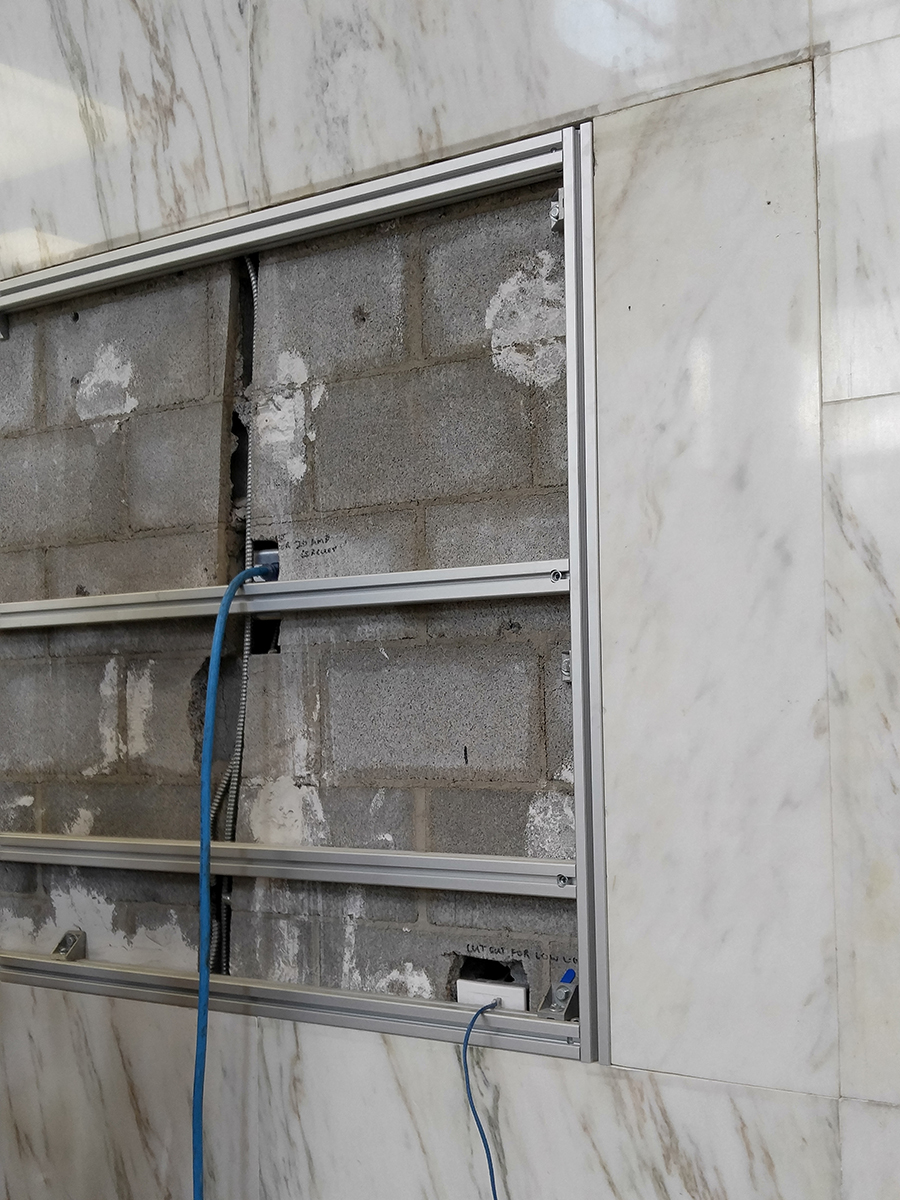
Before Hand Site Inspection
Performing a site inspection is one of the most important things you will do. It can determine where the display will go, what the lighting conditions are, what the wall material is, internet strength, and many more aspects of the install. If it is a new building or new install location it is essential that power and internet be run before hand and that it is the correct number of outlets. When preparing for an upcoming digital signage install it is also important to note how much foot traffic will be in the area while the install is taking place.

Come Prepared
As the saying goes, “have the right tools for the job.” This part of the installation, regardless if it is a room sign, wayfinder, or a set of digital menu boards is dependent on the site inspection because you need to know what type of material the wall is that you are going into. So bring the appropriate tools, ie: if the digital signage display is going into drywall make sure you bring solid, strong drywall anchors. Having a toolbox checklist is another good idea to make sure commonly misplaced tools such as drill bits, tape measures, and screwdrivers are not forgotten. If hardware has been previously staged in an office make sure all parts are repackaged and brought with you. This would include the vesa brackets that would go on the back of the digital sign, any spacers needed, any special screws needed to fit the display, and any other special tools that are needed for the mount
.
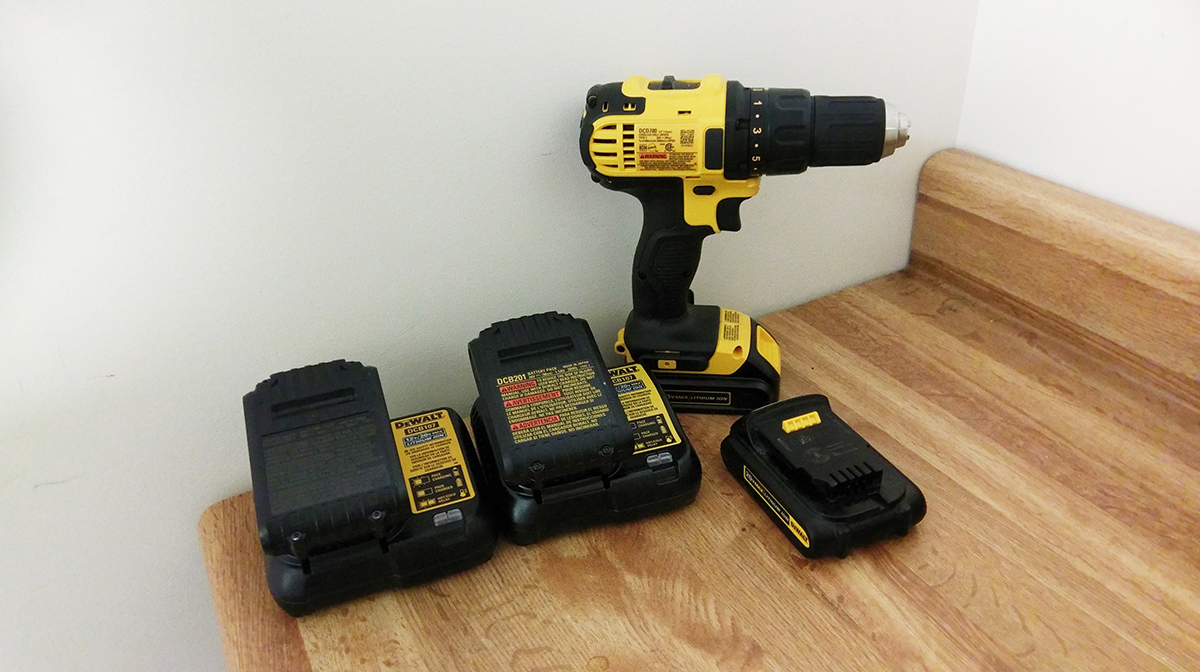
All Electrics Charged and Packed
In any testing process of any static or interactive display the unit is taken out and tested before the actual install date. This can be a blessing and a curse all at the same time. On one hand you know the unit is running and performing as it should, but because the display has been taken out things can be misplaced or forgotten on the day of the real install. The correct power cords are often forgotten along with secondary power adapters – this can be applied to both computers and screens. Also making any static or interactive sign come to life is the by the means of how the computer connects to the screen, that could be an HDMI cable, DP port cable, or VGA cable, make sure you remember to bring the correct length. Most signage displays have a manual power on, but for ease of use for the client always remember to bring the remote. The last point of preparation is to always have any tools that requires batteries to be fully charged before leaving for the site. It is a horrible feeling to start drilling into a wall and realize the battery is close to dying and knowing your backup still needs an hour more on the charger.

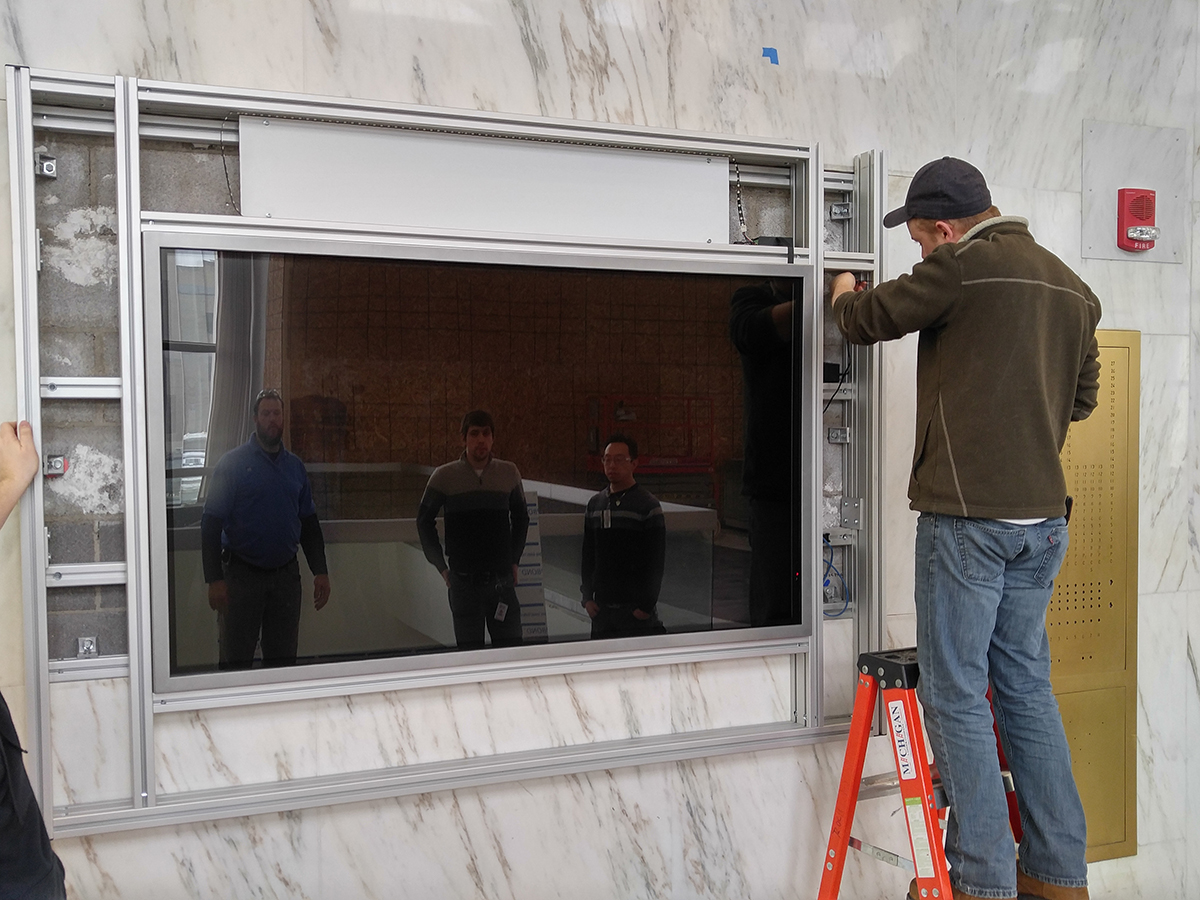
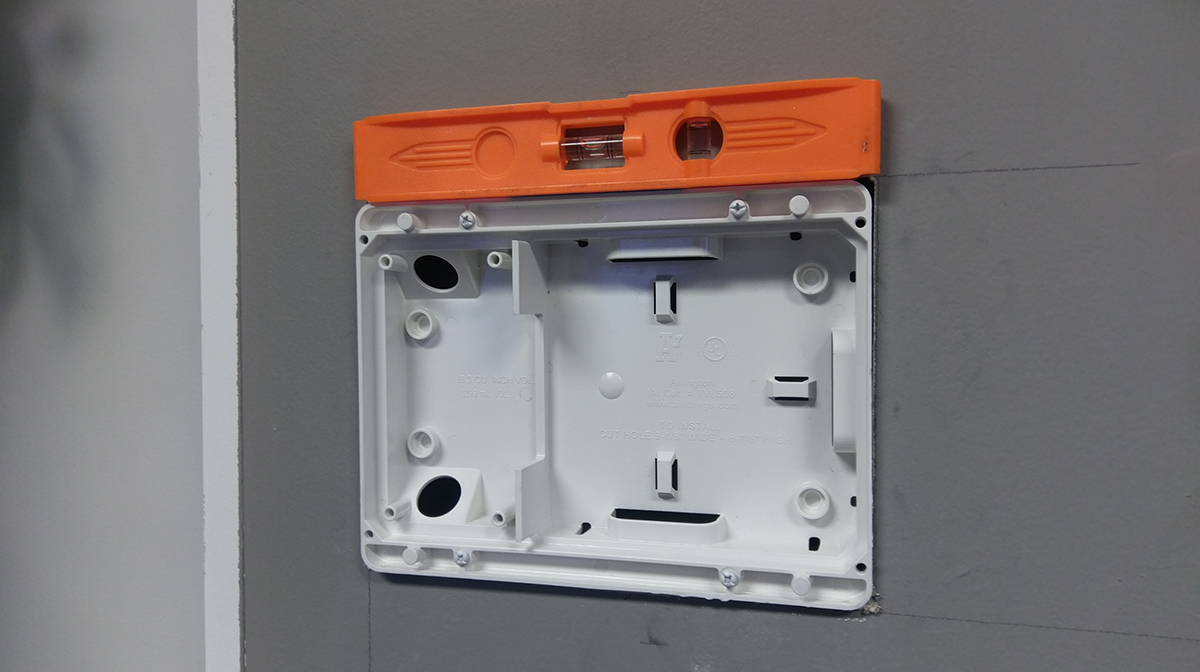
Be Precise
Measuring and leveling to the best of your abilities is essential; it looks very unprofessional if you end up drilling into a wall multiple times because your measurements were not correct (or you did not measure at all). It is also important to use the correct size drill bit when making holes for the mount, because you do not want your drywall anchors to be too loose and fall into the wall or not catch. Lastly, having the screen level is very important.
Expect the Unexpected
As much planning you can do for an install, some things may not go as planned. Some of the difficulties that may be encountered are unlevel walls, unlevel floors and ceilings, or finding that there is a layer of concrete behind the drywall. Other things that may happen is that drywall anchors break, drill bits break, and screws may strip out. The best thing to do in any of these situations is to take a step back, stay calm, and see what your other options are. It is also important to not let the client sense you are frustrated or that things are going wrong.

Take Pride and Take Pictures
Once the install has been successfully completed, clean up, step back and admire what has just been done. Document your work and how you can make it better. Don’t forget to take pictures for records and for sharing on websites and social media. But most importantly, take pride in your work and what you do.